EEeeeek!!

With two young cats around the house there are also lots of toys about the place. These include 4 or 5 ping-pong balls that they love kicking around. Minnie, especially, loves it when I throw one up the stairs to the corner where it hits the wall and, barely before it has the time to bounce off the wall, she is there. Kicking it between her legs, turning somersaults and chasing it down the stairs, trying to catch it as it bounces high in the air when it hits the wooden floor.

As you can imagine, these ping-pong balls are always disappearing under the furniture; two bookcases, a dresser and small plan chest of drawers. All these pieces have fishtail designs around the bottom, so it is difficult for the cats to get their paws in to scoop them out.

I know when one has gone under the furniture as Minnie, as it is nearly always she, sits by the bookcase or whatever, or sticks her arm leg in, to try to scoop it out.

It happened thus, this morning. “Lost your bally?” (sorry, cat-talk), I said. Using the handle end of a dressage whip, kept indoors for just this purpose, I got down flat on my tummy to peer under the bookcase. Aha, there it was, in the gloom, right at the back. So I bashed it, with the handle of the dressage whip, as is my want, expecting it to come shooting out the other end. But it didn’t.

I looked again and there was nothing there. “Oh dear,” I said to Minnie who was breathing down my neck, “there’s nothing there after all!”

Not wanting to disappoint her, I checked on the other side of the fishtail. Aha, there was one there! So, again, head flat on the floor in front of the bookcase, but more gently this time, I tried to scoop it out. In the gloom, at eye level, not six inches from my nose, I saw some tiny scrabbling legs. EEeeeeeek!! its’ a mouse!!!!! I said, as I jumped up, glad that it hadn’t shot out into my face!

I walked away, feeling awful that I had bashed it with the dressage whip and leaving Minnie to her efforts to extricate it.

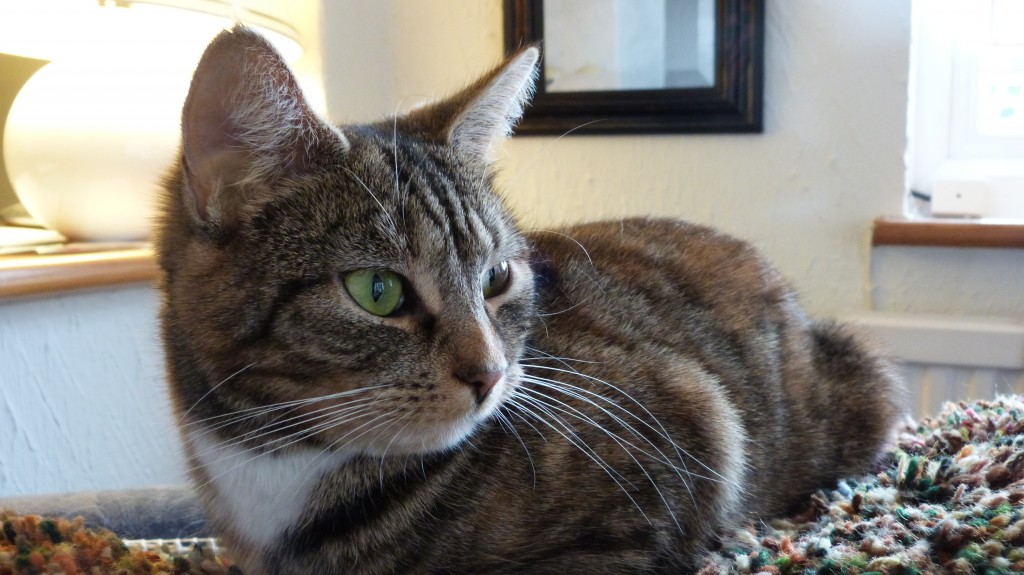
Minnie - Butter wouldn't melt......

Minnie – Butter wouldn’t melt……

A red letter day

Friday, day off, yippee.  Plans to clean out the greenhouse and prune my roses went awry during the yearly visit from my plumber, to service the boiler.

Last week I discovered that everything, yes, everything on the shelf under the sink was sodden and all rather strangely coloured blue!  Closer inspection revealed a packet of those blue thingeys that you put in the toilet had burst open and had mixed with the water leaking from the sink bowl, with the colourful result. As it appeared to be a slow leak from around the plug hole, I was confident that my plumber could sort it out in a jiffy.

How wrong can you be? After backing out from the bowels of the sink unit Chris, the plumber, had bad news. Yes, he could solve the leak around the plug hole, but there was a hairline crack in the sink and, worse than that, water was steadily dripping from the hot and cold pipes feeding the tap. All that water was dripping down and saturating everything at the bottom of the sink unit. *Groans* Luckily it was where I kept old Tshirts, etc., to use as rags, so they had soaked up a good bit, but judging by the blue colour on the pipes, it looks as though they had been leaking for some time. You’ll need a new tap unit he said, and we should replace those old pipes with flexible ones, and it’ll be difficult to do that with the sink in place……

So, while he was doing his bit in the boiler room outside, I was surfing the net looking for a cheap replacement sink and monoblock mixer taps. *Groans* again.

The one consolation for  my lost day was… Eureka… a beautiful new laid egg!! Dear ol’ Polly, my Light Sussex hen, had laid her first egg for 5 months. Probably be the only egg this year, the way things are going. Still, we have to be thankful for small mercies.

Getting old….

Most of my adult life I’ve had to fend for myself as, the majority of the time, I lived on my own. I used to spend most of my spare time creating a cosy  home – decorating, diy, gardening and riding, competing and caring for my horse. Gradually, after moving to the cottage 22 years ago, I stopped riding and competing my horse, as I was far too busy creating a rose garden, building trellises and rose tunnels and sorting out the cottage.

Then, when 11 years ago, my then partner moved in with his cat and his horse, I let him take over the more mundane tasks, drilling holes in walls, putting up shelves and generally fixing things. I gradually stopped decorating or tending my gardening.

Instead, my poor horse was dragged out of retirement and most weekends were taken up with grooming and going out for lovely long rides together, sometimes three hours or more. We loved being together, enjoying the peaceful countryside and quiet country lanes surrounding the cottage.

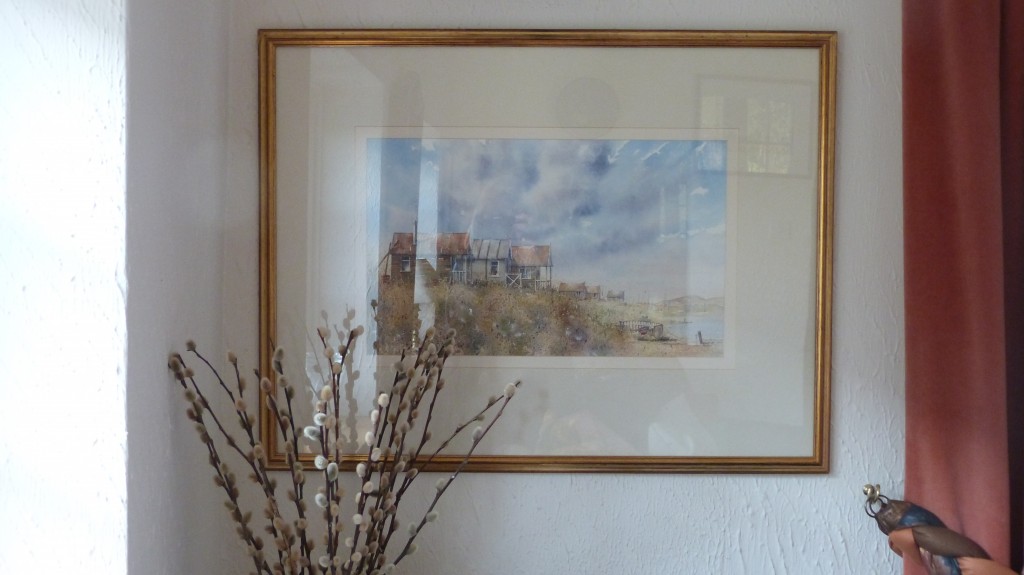
When we split 14 months or so ago, my daily routine absorbed the diy, decorating etc. After 10 years of doing very little, I decorated three rooms and the stairs and landing in the last 14 months. So, when my nephew came over for lunch one Sunday, with a huge picture, I had no worries about hanging it. Piece of cake I thought. A very kind gift. One of my late brother’s watercolours which is beautiful. He was very talented.

A lovely memory of my late brother

A lovely memory of my late brother

As it was quite a large painting, I felt that a picture hook would not be robust enough, so I needed to drill a hole.  Under the wall light. Now, I  wondered, would the electricity cables feed down from the ceiling, or up from the floor?  As the hole I needed to drill was directly under the light, I was a little concerned about electrocuting myself. Wish I had one of those thingeys that would tell you where the wires were. But I didn’t. Okay, use a circuit breaker I thought, then if you do hit a live wire you will just frizzle yourself a little but you wouldn’t go up in a huge puff of smoke!

So I found the circuit breaker and tested it. Miraculous, it was working!  I carefully laid out the extension lead and plugged it in to the circuit breaker. Then found the drill and went to plug it in and discovered ….. it was cordless! What a wally I am, felt so silly. Was so glad there was nobody around to mock me! Is this what happens as you get past 60?

Not to be deterred, I picked the bit that I thought would be the right size and corresponding rawplug. Size 8 drill bit it said on the rawplug, but there was nothing written on the bit or in the lid of the drill box. Ho hum, I thought and tried to drill into the hard, concrete blocks with which the extension was built. After huffing and puffing and putting lots of welly behind it I had drilled just a quarter of an inch. Must need to put it on ‘hammer’ I thought. 10 minutes of fiddling I managed that and carried on, sweating and huffing and puffing. Eventually I drilled in up to the end of the bit. Phew, I thought, that was difficult! Had to put in a smaller rawplug before I could screw in a screw I felt would be man-enough to hold the picture.

It wasn’t until later in the evening when I was eating supper, admiring my brother’s painting, and my handiwork, that I realised that I had drilled the hole with a wood bit, not a masonary one. No wonder it was such hard work. Oh dear, derrrr!


Space saving idea for kitchen cupboards

It’s lovely living in a little cottage, but it means that storage space is at a premium.

Because of the limited space, I take some of my supermarket carrier bags to the local farm shop for reuse, but like to keep some back, as they are so useful. But it’s incredible just how much space they can take up in already bulging kitchen cupboards!

On a visit to my brother in Sweden I noticed how he dealt with the problem. It was so simple that I thought I’d share it with you, so that you too, can free-up space in your cupboard.

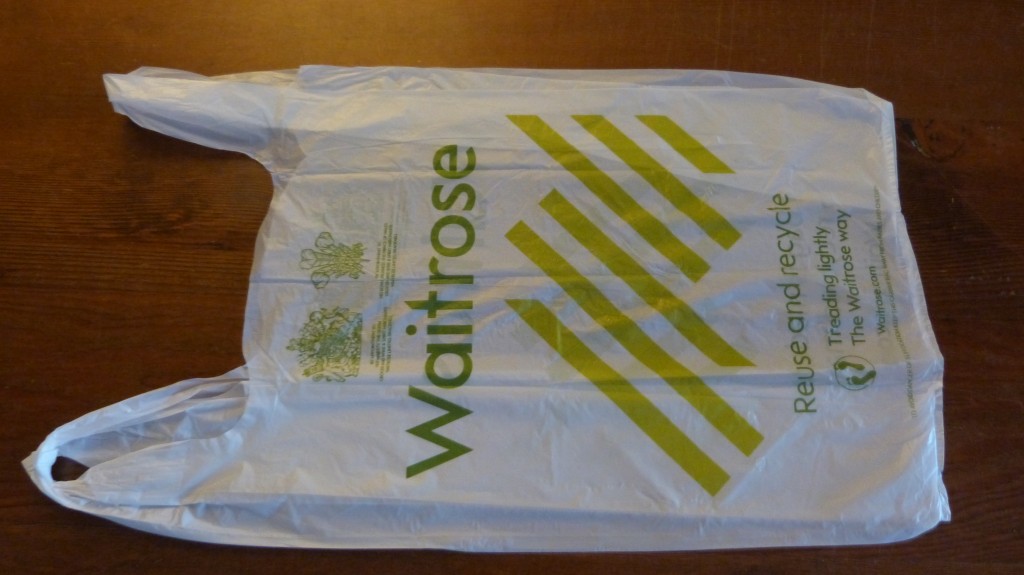
Lay your bag flat on a flat surface, smoothing out towards the open end to remove all the air.

P1000618

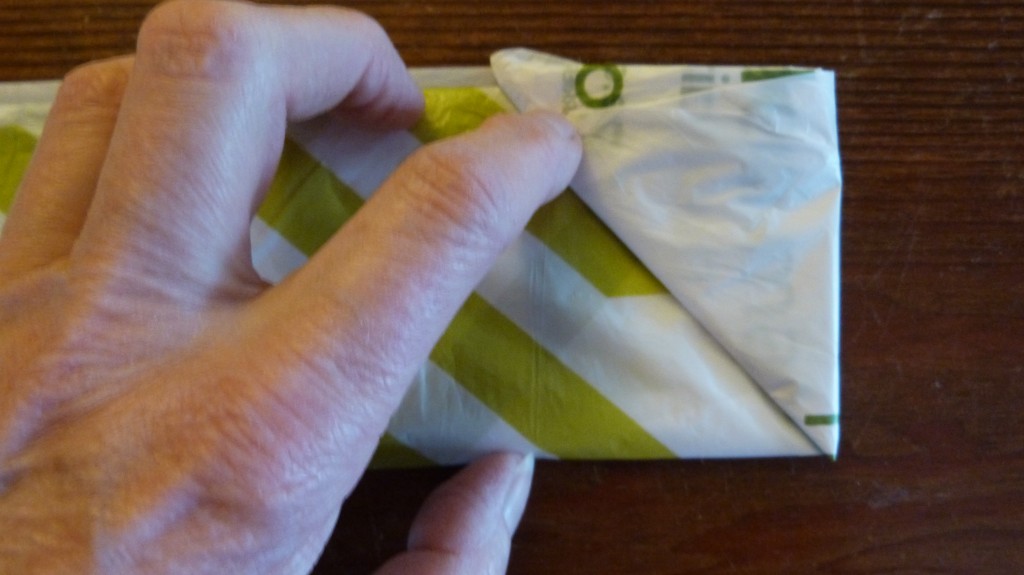
Then fold it lengthways three times, again smoothing towards open end.

P1000619

Then fold diagonally starting from the closed end.

P1000620

Then fold again.

P1000621

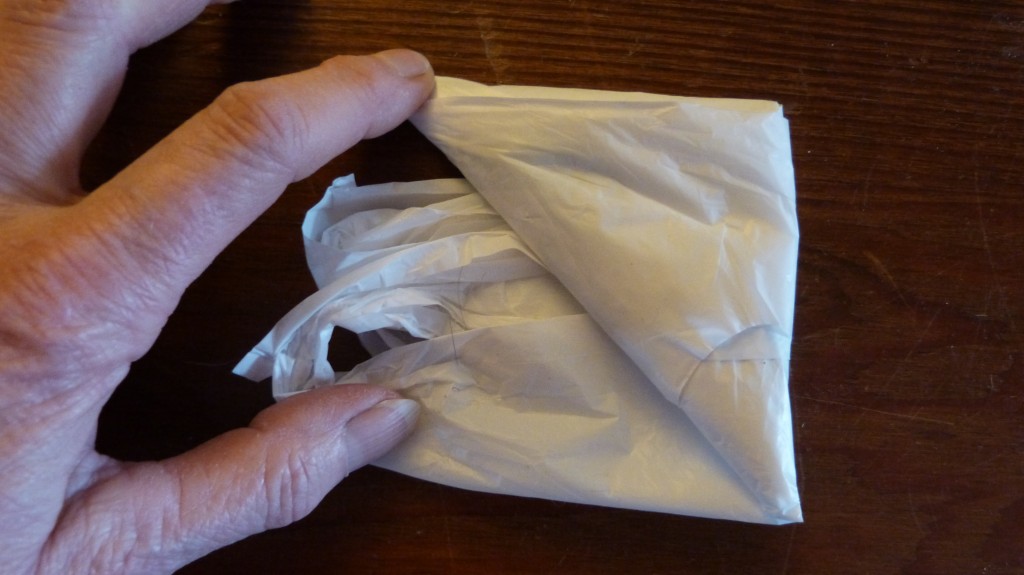
Keep folding until you get to the open end.

P1000622

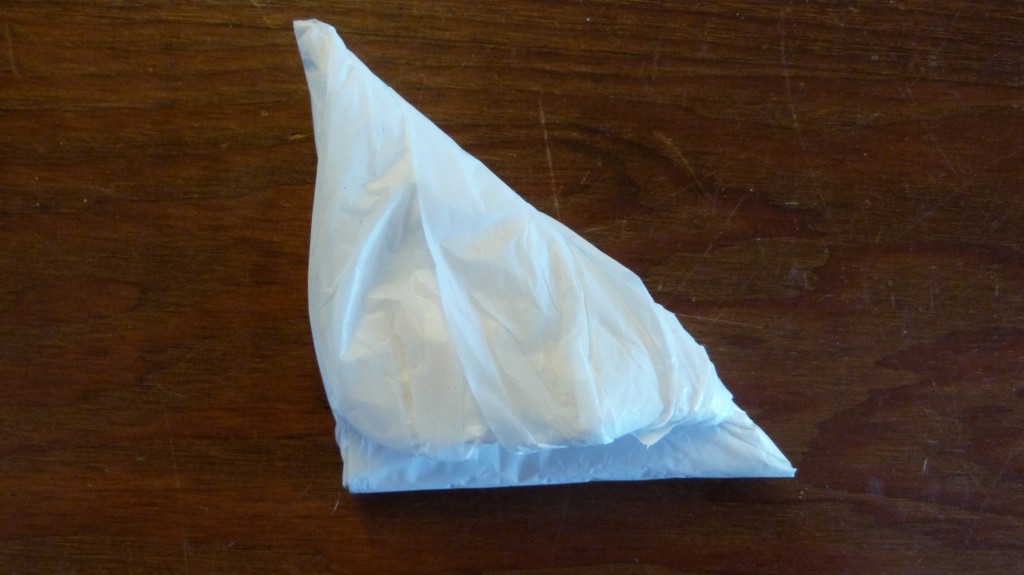
Then just tuck in the handles into the open part of the folded bag.

P1000623

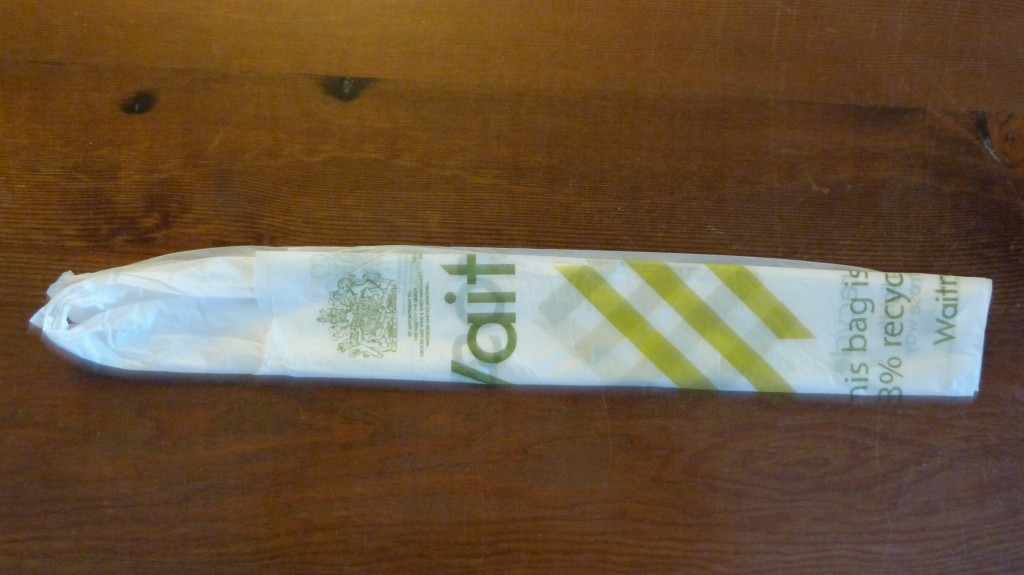
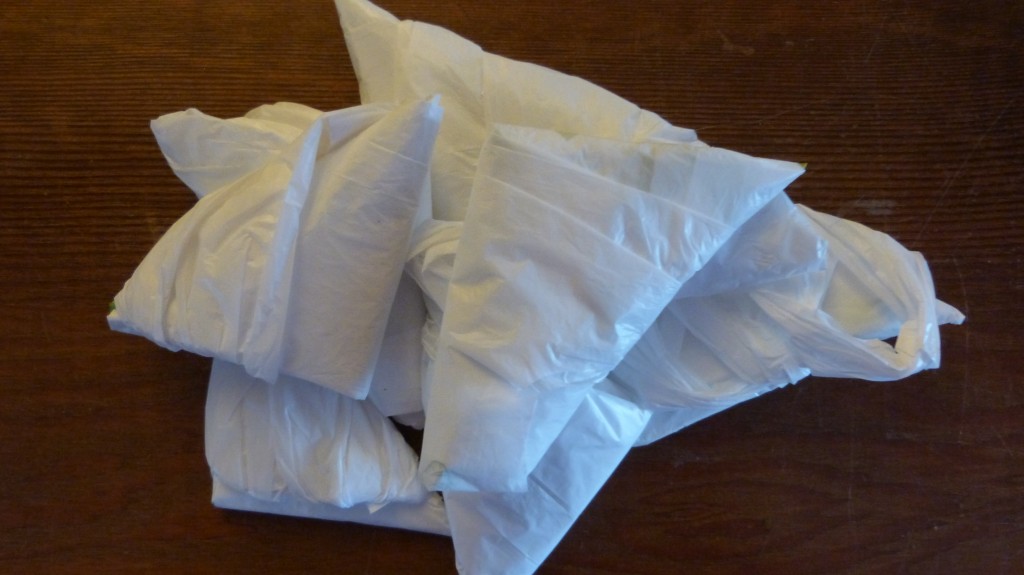
Hey presto, one large bulky carrier bag folded into a little ‘wedge’ of plastic that will take up very little space in your cupboard! I fold up all my big horse feed bags like this too, which saves even more space out in the feed shed.

P1000624


The Gallery : New

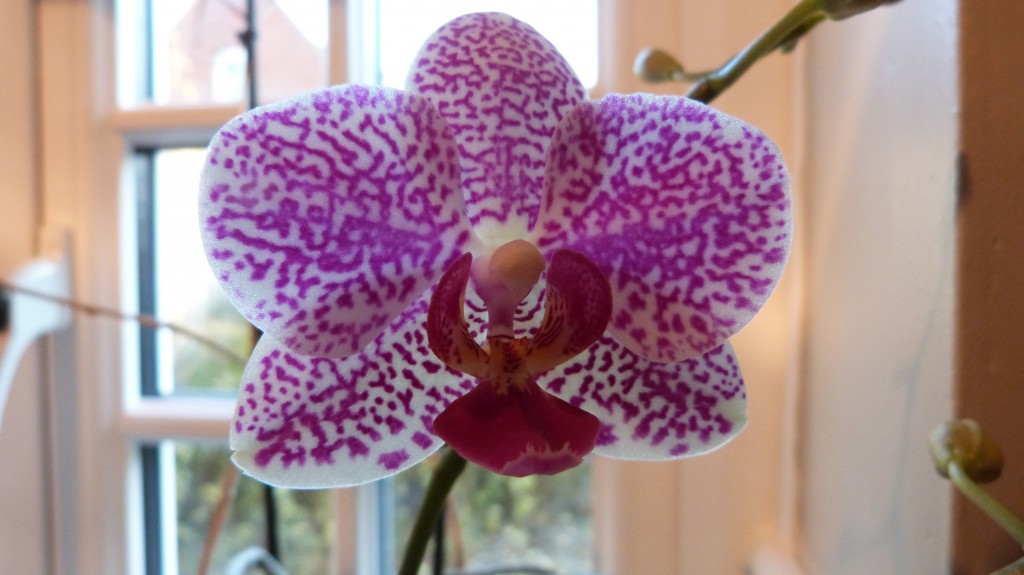
Over five years ago I was given a lovely orchid when I left my job. It flowered for 18 months, then stopped. I had planned to chuck it out, but never got around to it. So glad I didn’t, because at the end of last year it grew a new stem and over Christmas buds formed. This week the first bud opened into a beautiful new flower !1st orchid for 3 years

The joys of jam making and an errant horse

Needing to free up space in my geriatric chest freezer, in order to defrost it, I thought that the time was right to make some bramble jelly.  A one litre sized icecream container and three large yoghurt pots housed 3lbs of blackberries and 1 ½ lbs of blackcurrants. The former picked from the hedgerows around Mr M’s field and the latter my first year’s harvest from my one and only blackcurrant bush in my garden.

Emptying the freezer has been a project of mine for the last 12 months or so. Every time I manage to run down the contents, I see some really good bargains in the supermarket that are going for knockdown prices. Not being one to miss a bargain, they come home with me to be slotted into the freezer space that had been liberated the week before.. and so it goes on.

But I digress.. back to the jam making.

The day dawned bright and cold – freezing in fact. Before I could get cracking on the jelly, I had to feed and muck out Mr M and take him up to his meadow, a short walk up the side of a field at the bottom of  the cottage paddock. As I walked him up there, admiring the first signs of winter on the frozen grass, I realised I hadn’t enough sugar… Blast, this would mean a dash to the supermarket. (I chose the supermarket over the village shop because that morning my electric toothbrush had given up the ghost, so I needed an urgent replacement).

On my return, having spent a small fortune on lots of supermarket bargains, I was eager to ‘get preserving’.  Easier said than done. The freezer lid was stuck fast, totally iced up! Finally after 15 mins chipping away I managed to lift the lid and delve into the icey depths to find the blackberries and blackcurrants.

The recipe calls for:

5lbs (2.15 kgs) of blackberries
1lb of cooking apples (450g) roughly chopped
2 pints of water (1.1lt)
3 lemons
Sugar

As I intended to include the blackcurrants, which contain much more pectin (the agent that helps the jelly set) than the blackberries, I decided to include just two lemons.  Lemons are a good source of pectin  for such fruits as blackberries and strawberries, that are low in pectin.

Method: Put the fruit, lemon juice and chopped lemon shells into a large saucepan or preserving pan. Pour in the water and bring to the boil. Cover and simmer for approx  1½ hours, stirring occasionally until all the ingredients are reduced to a pulp. Add a little extra water, if necessary.

Strain overnight through a jelly bag. This used to be the fun bit. Until I bought a proper holder for the bag, I used to lasso the beam over the kitchen sink and hang the bag from that, catching the liquid in a big bowl in the sink beneath. Only problem was, that you couldn’t use the sink until you had taken  down the bag in the morning! Now I have the proper thing, life is much easier!

Strain the cooked fruits overnight.

Just let the pulp in the bag drip into the bowl. Don’t be tempted to squeeze the bag, as this will make the jelly cloudy.

So, reaching this point I braved the elements to go and bring Mr M back from his field. I don’t know what had got into him, but he was an absolute maniac, with me hanging onto the end of his rope for dear life as he was bucking on the end of it. (Or doing handstands as a friend calls it!)  With much difficulty, and with my heart in my mouth (as I am only 5.3″ and not big and strong, and not in my 20s any longer!) I managed to get him back into my home paddock. As soon as we turned away from the closed gate he leaped forward tugging the rope from my hands. Then followed a 10 minute exhibition of “Look how fast mum I can gallop around this little paddock. Can’t I buck high?!”  I couldn’t watch, convinced that as he motorbiked around the corners, on the soaking ground, he would go down. Luck however, was on his side, and he managed to stay upright. After 10 minutes, or more, he came to a halt, allowed me to pick up his sodden rope, which only minutes earlier had been wrapping itself around his galloping legs, and put him in his stable. Phew, I thought.

For some strange reason I felt shattered when I went to bed, but not before the obligatory teeth clearning! Without thinking, I picked up the old electric toothbrush, turned it on, and… it leaped into life. Oh dear, there really wasn’t any need to go to the supermarket afterall !

Back to the bramble jelly…. Next day, measure the liquid allowing 1lb of sugar for every pint. I had exactly 2 pints of liquid so only needed just under one bag of sugar. (Oh dear, I had enough in the store cupboard, afterall.)

Stir over a low heat until the sugar is dissolved. Then bring to the boil scooping off any scum that forms on the surface. Boil hard until it reaches setting point (104C to 105.5C). Well that’s all very well, but if you don’t have a jam thermometer how do you know when it reaches setting point? The trick is to put a blob of the liquid on a cold plate and when you pull a clean finger lightly across the top of it you will feel  a skin forming if the liquid has reached setting point. If you are like me, you will usually have a little plate with about 7 or 8 little blobs on before you are happy that it has reached setting point.

I now have a thermometer, which makes life so much easier, though the one I purchased was a little short for the depth of my preserving pan. So much so, that when it was hung on the side of the pan,the tip only was in the liquid, necessitating my holding it in the bubbling jelly which is rather hot on the hands!  Looking at the liquid as it hit the required temperature I noticed that there were trillions of bubbles as it boiled, so this is a good indication of what it looks like when  it is reaching setting point. Knowing this, you’ll probably get away with just a couple of blobs on your plate, not 7 or 8!

About 10 mins before you are ready to pot up the jelly,  put your clean jamjars in a warm oven to sterilize them. Once setting point has been reached turn off the heat and ladle the liquid into the heated jamjars.  Using a jam or chutney funnel will certainly help direct it into the jar, otherwise lots can be lost on the counter top!

Waxed discs are placed firmly on the top of the jelly (waxed side down), then a clear cellophane disc is held with an elastic band over the top of the jar.  Dampen the disc with water before securing (ensuring that this is done will the preserve is still hot).  The heat will dry the cellophane and tighten it across the top of the lid.  Label up, including the date. Cut some material with pinking sheers and secure with another elastic band to make them look a little more special when giving  to friends.
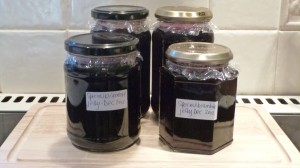
Bramble Jelly November 2012